Installing a shower niche is an excellent way to upgrade your bathroom’s functionality and style. A shower niche is a recessed shelf built into the wall of a shower to hold soap, shampoo, and other shower essentials. It not only adds storage space but also gives a clean and modern look to your bathroom.
Installing a shower niche may seem like a daunting task, but with the right tools and step-by-step instructions, it can be a DIY project. This guide will provide you with a step-by-step process to install a shower niche in your existing shower. From measuring and marking the niche location to waterproofing and tiling, this article will cover all the necessary steps to complete the project successfully. Whether you’re a seasoned DIYer or a beginner, this guide will help you achieve a professional-looking shower niche that will enhance the overall look of your bathroom.
Understanding Shower Niches

Shower niches are recessed shelves in a shower wall that are designed to hold showering essentials such as shampoo, soap, and conditioner. They are not only functional but also add a stylish element to a bathroom. Shower niches can be made of various materials such as ceramic, porcelain, marble, or granite.
There are several benefits to installing a shower niche in a bathroom. Firstly, it can help to declutter the shower area by providing a designated space for showering essentials. Secondly, shower niches can enhance the overall look of a bathroom by adding a decorative element to the shower wall. Lastly, shower niches can save space in a bathroom by eliminating the need for shower caddies or shelves.
When considering installing a shower niche, it is important to choose the right size and location. The size of the niche should be based on the number of items that will be stored in it. The location of the niche should be based on convenience and accessibility. It is recommended to install the niche at eye level and within reach of the showerhead.
In summary, shower niches are a functional and stylish addition to any bathroom. They can help to declutter the shower area, enhance the overall look of a bathroom, and save space. When installing a shower niche, it is important to choose the right size and location based on convenience and accessibility.
Tools and Materials Needed

Installing a shower niche requires a few tools and materials to ensure a successful installation. Here are the items that one should have before starting the installation process:
Tools Needed
- Measuring tape
- Pencil or chalk
- Level
- Stud finder
- Oscillating multi-tool or angle grinder
- Tile saw or tile cutter
- Notched trowel
- Rubber float
- Margin trowel
- Caulk gun
- Drill
Materials Needed
- Shower niche
- Backer board
- Waterproofing membrane
- Screws
- Tile adhesive
- Grout
- Silicone sealant
It is important to have all the necessary tools and materials before starting the installation process to ensure a smooth and efficient installation. One should carefully measure and mark the desired niche location on the stud wall using a pencil or chalk and confirm there is adequate depth for the niche size they want. A stud finder can be used to locate the studs in the wall.
Once the niche location has been marked, an oscillating multi-tool or angle grinder can be used to carefully cut out an opening in the existing tile and wallboard to expose the studs. After that, the backer board can be installed around the shower niche using screws and a drill.
To waterproof the shower niche, a waterproofing membrane can be applied over the backer board, followed by tile adhesive to install the tiles. The grout can be applied using a rubber float, and the excess wiped off with a margin trowel. Finally, silicone sealant can be used to seal all the joints around the niche to create a waterproof seal.
By having all the necessary tools and materials and following the steps carefully, one can easily install a shower niche in their existing shower.
Choosing the Right Location for Your Shower Niche

When it comes to choosing the right location for your shower niche, there are a few things to consider. The first thing to think about is the size of your shower and the amount of space you have available. You want to make sure that the location you choose doesn’t take up too much space or make your shower feel cramped.
Another important factor to consider is the height of the niche. According to Red Block Industries, the ideal height for a shower niche is between 48 and 60 inches from the floor. This allows for easy access to your toiletries without having to reach too high or too low.
It’s also important to consider the placement of the niche in relation to your showerhead. You want to make sure that the water from your showerhead won’t directly hit your niche, as this could cause your toiletries to become wet and potentially damaged. A good rule of thumb is to place your niche on the opposite wall from your showerhead.
Finally, you’ll want to consider the overall design of your bathroom. You want your shower niche to blend seamlessly with the rest of your bathroom and not look out of place. Consider the color and style of your tile and make sure that your niche complements the overall aesthetic of your bathroom.
By taking these factors into consideration, you can choose the perfect location for your shower niche and ensure that it’s both functional and aesthetically pleasing.
Also check Water Closet Private Bathroom Design: Tips and Ideas for a Luxurious and Functional Space
Measuring and Marking the Installation Area

Before starting the installation process, it is crucial to measure and mark the installation area accurately. This will ensure that the shower niche is correctly positioned and aligned with the surrounding tiles.
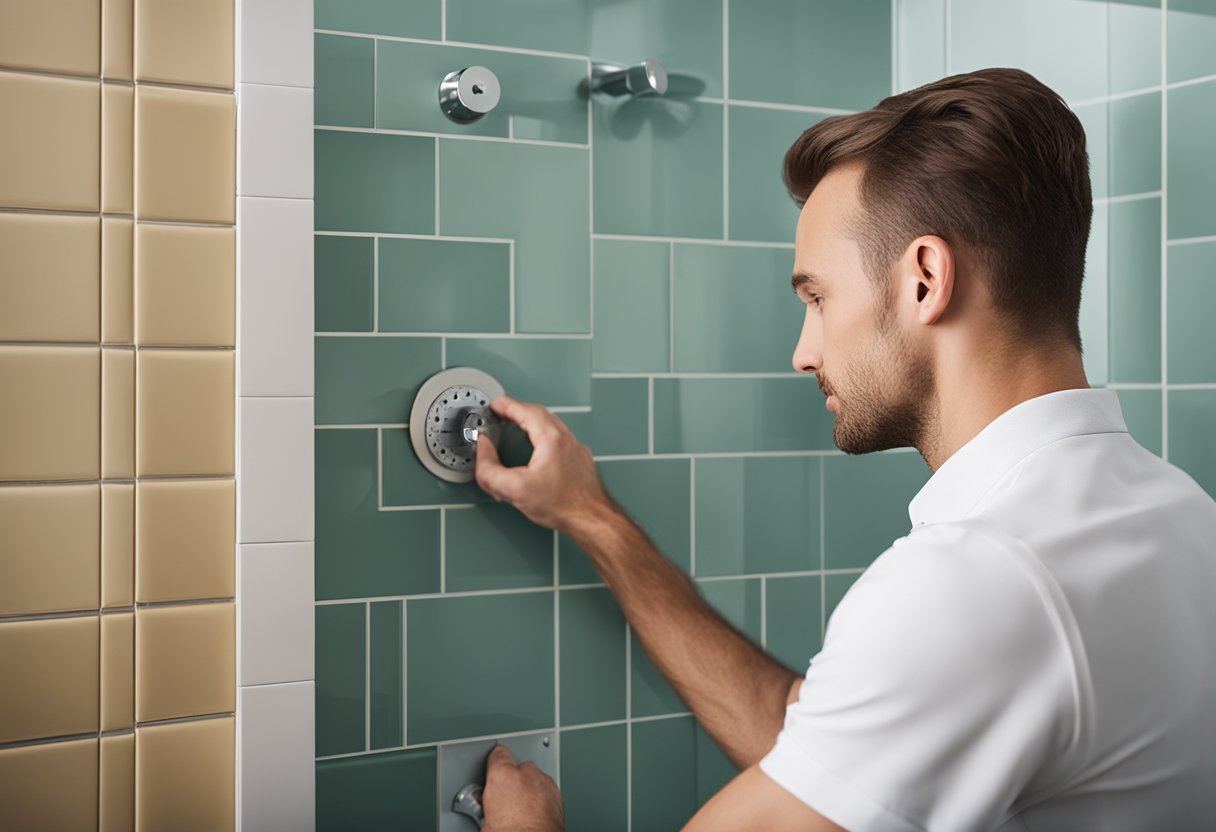
To measure the installation area, it is recommended to use a level, measuring tape, and pencil. First, determine the desired height and width of the shower niche. Use the measuring tape to mark the width and height of the shower niche on the wall.
Next, use the level to ensure that the markings are straight and level. Adjust the markings as needed until they are level and aligned with the surrounding tiles. It is crucial to ensure that the shower niche is level to prevent water from pooling inside the niche.
Once the markings are complete, it is time to cut out the opening for the shower niche. This can be done using an oscillating multi-tool or angle grinder. It is important to wear eye and dust protection during this step to avoid injury.
In summary, measuring and marking the installation area accurately is a crucial step in installing a shower niche. Using a level, measuring tape, and pencil, mark the desired width and height of the niche on the wall. Ensure that the markings are level and aligned with the surrounding tiles. Finally, cut out the opening for the shower niche using an oscillating multi-tool or angle grinder while wearing eye and dust protection.
Cutting the Wall for the Shower Niche

Cutting the wall for the shower niche is a crucial step in the installation process. The first step is to locate the area where the niche will be installed. It is important to choose a location that is easily accessible and does not interfere with any plumbing or electrical wiring. Once the location is chosen, mark the area where the niche will be installed.
Next, use a level to ensure that the area is straight and level. This will ensure that the niche is installed correctly and will not cause any issues with water drainage. It is important to use a level to ensure that the niche is installed correctly.
After marking the area, use a saw to cut out the opening for the niche. It is recommended to use an oscillating multi-tool or angle grinder to expose the studs. This will allow for easy installation of the niche. It is important to wear eye and dust protection during this step.
Once the opening is cut, install the backer board around the niche. Try to get the cuts as close as possible to the shower niche edge. After the backer board is installed, waterproof the shower niche with silicone. Apply 100% silicone over each screw head and fill the gap between the niche and adjacent backer board.
In summary, cutting the wall for the shower niche is a critical step in the installation process. It is important to choose a location that is easily accessible and use a level to ensure that the area is straight and level. Using an oscillating multi-tool or angle grinder to expose the studs will allow for easy installation of the niche. After the opening is cut, install the backer board and waterproof the shower niche with silicone.
Framing the Niche

Framing the shower niche is a crucial step in the installation process. The framing provides the necessary support for the niche and ensures that it is properly aligned with the surrounding tile.
To begin the framing process, measure and mark the desired location of the niche on the wall. Ensure that the location is easily accessible and does not interfere with any plumbing or electrical fixtures.
Next, use a stud finder to locate the studs in the wall. Once the studs are located, mark their positions on the wall. This will help ensure that the niche is properly supported and securely attached to the wall.
After marking the location of the niche and the studs, use a saw to cut out the opening for the niche. Be sure to wear eye and dust protection during this step.
Once the opening is cut, install the framing for the niche. Use 2x4s to create a frame that is the same size as the opening. Attach the frame to the studs using screws.
Finally, install the backer board onto the frame. The backer board provides a solid surface for the tile to adhere to. Use screws to attach the backer board to the frame, ensuring that it is flush with the surrounding wall.
With the framing and backer board in place, the niche is now ready for tile installation. The next step is to tile the niche and finish the installation process.