DIY wooden hexagon shelves have become a popular home decor trend in recent years. These shelves are not only functional but also add a unique touch to any room. Building your own hexagon shelves may seem daunting at first, but with the right tools and instructions, it can be a fun and rewarding DIY project.
To build DIY wooden hexagon shelves, you will need basic woodworking skills and tools such as a saw, drill, and sandpaper. The first step is to choose the type of wood you want to use and cut it to the desired size and shape. Next, you will need to assemble the hexagon shape using angled cuts and wood glue. Once the hexagon is complete, you can add shelves to the interior using brackets or by cutting notches into the wood. Finally, sand and stain the shelves to your desired finish.
By following these simple steps, you can create your own DIY wooden hexagon shelves that are both functional and stylish. Whether you’re looking to display books, plants, or other decor items, these shelves are a great way to add a personal touch to any room in your home.
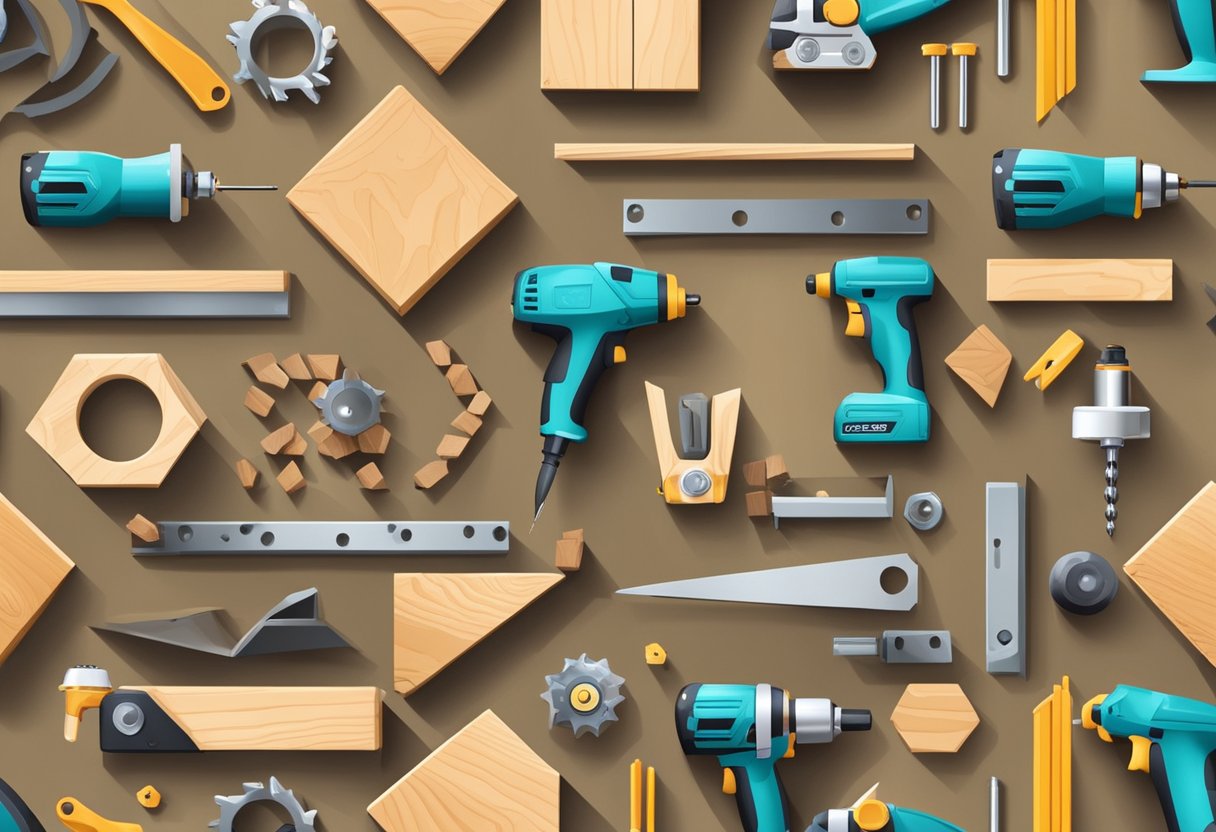
Materials and Tools Required

Building DIY wooden hexagon shelves requires a few essential materials and tools. Here is a list of what you will need to get started:
Materials
- Wood boards: Choose the type of wood you prefer, but make sure it is strong enough to support the weight of the items you plan to place on the shelves. Pine, oak, and plywood are popular choices.
- Wood glue: Use a strong, durable wood glue to hold the pieces of wood together.
- Finishing nails: These are used to reinforce the shelves and make them more secure.
- Sandpaper: Use sandpaper to smooth out rough edges and surfaces.
- Wood putty: Use wood putty to fill in any gaps or holes in the wood.
- Paint or stain: Use paint or stain to give your shelves the desired finish.
Tools
- Miter saw: This is used to cut the wood at a 30-degree angle.
- Measuring tape: Use a measuring tape to ensure that your cuts are accurate.
- Pencil: Use a pencil to mark where you need to make your cuts.
- Paintbrush: Use a paintbrush to apply paint or stain to the shelves.
- Sanding block: Use a sanding block to smooth out rough edges and surfaces.
- Nail gun: Use a nail gun to insert finishing nails into the wood.
With these materials and tools, you will be able to build your own DIY wooden hexagon shelves.
Planning Your Hexagon Shelf Design
Before starting to build a hexagon shelf, it is important to plan out the design. This includes deciding on the size, number of shelves, and the overall style.
One way to plan out the design is to sketch it on paper or use a design software. This will help visualize the end product and make any necessary adjustments before starting the building process. It is important to consider the space where the shelf will be placed and ensure that the size and style fit the overall aesthetic of the room.
Another important factor to consider is the materials to be used. The type of wood and finish can greatly affect the overall look of the shelf. It is important to choose high-quality materials that will last and complement the room’s decor.
When deciding on the number of shelves, it is important to consider the purpose of the shelf. If it is meant for decorative purposes, then fewer shelves may be appropriate. However, if it is meant for storage, then more shelves may be necessary.
In summary, planning out the design of a hexagon shelf is crucial to ensure that the end product fits the desired aesthetic and purpose. By considering factors such as size, materials, and number of shelves, one can create a functional and stylish piece of furniture.
Cutting the Wood to Size

Measuring the Angles
Before cutting the wood, it’s essential to measure the angles correctly to ensure that the hexagon shelves fit together seamlessly. To do this, use a protractor to measure a 30-degree angle on each end of the board. Make sure to mark the angle with a pencil before cutting. It’s crucial to be precise when measuring the angles to avoid any gaps in the final product.
Using a Miter Saw for Precision
Once the angles are measured and marked, it’s time to cut the wood to size. A miter saw is the best tool for this job, as it allows for precise and accurate cuts. Set the saw to a 30-degree angle and cut each end of the board accordingly. It’s essential to keep the saw blade straight and steady while cutting to ensure a clean and even cut.
After cutting the wood to size, it’s time to assemble the hexagon shelves. Using wood glue and screws, attach the six pieces together to form the hexagon shape. Make sure to apply enough glue to ensure a strong bond between the pieces. Allow the glue to dry completely before sanding and staining the wood.
Overall, cutting the wood to size is a crucial step in building DIY wooden hexagon shelves. By measuring the angles correctly and using a miter saw for precision, the final product will be seamless and professional-looking.
Assembling the Hexagon Shelves

Gluing the Edges
To assemble the hexagon shelves, the first step is to apply glue to the edges of the hexagon pieces. Use a small brush or a cotton swab to apply the glue evenly along the edges. Be careful not to apply too much glue, as this can cause the pieces to slide around and make it difficult to align them properly.
Clamping the Pieces
Once the glue has been applied, the next step is to clamp the pieces together. Use clamps to hold the pieces in place while the glue dries. It is important to ensure that the pieces are properly aligned before clamping them together. Check that the corners are square and that the edges are flush.
Reinforcing Joints with Nails or Screws
After the glue has dried, the joints can be reinforced with nails or screws. This is an optional step, but it can add extra strength and stability to the shelves. Use a drill to make pilot holes for the nails or screws, and then insert them into the joints. Be careful not to over-tighten the screws, as this can cause the wood to split.
Overall, assembling hexagon shelves is a relatively simple process that can be completed with basic woodworking tools and materials. By following these steps, anyone can create a unique and stylish set of shelves that will add a touch of personality to their home decor.
Sanding and Finishing

Choosing the Right Sandpaper
Before sanding, it is important to choose the right sandpaper. The grit of sandpaper refers to the number of abrasive particles per square inch. The higher the grit number, the finer the sandpaper. For sanding wooden hexagon shelves, it is recommended to start with a coarse grit sandpaper such as 80 or 100 grit to remove any rough spots or imperfections. Then, move on to a finer grit such as 120 or 150 grit to smooth out the surface.
Staining or Painting
After sanding, the wooden hexagon shelves can be stained or painted to match the decor of the room. Staining allows the natural beauty of the wood grain to show through, while painting can add a pop of color. When staining, it is important to choose a stain that is compatible with the type of wood used for the shelves. Follow the manufacturer’s instructions for application and drying time.
If painting, it is recommended to prime the shelves first to ensure even coverage and adhesion of the paint. Allow the primer to dry completely before applying the paint. Use a high-quality paintbrush or roller for a smooth finish. Multiple coats may be necessary for full coverage, so be sure to follow the manufacturer’s instructions for drying time between coats.
In conclusion, sanding and finishing wooden hexagon shelves is an important step in creating a beautiful and functional piece of decor. By choosing the right sandpaper and stain or paint, the shelves can be customized to fit any style or color scheme.
Mounting the Shelves on the Wall

Once the hexagon shelves are assembled, the next step is to mount them on the wall. There are a few different methods for mounting shelves on the wall, depending on the type of wall and the weight of the shelves.
Finding Studs
If the wall is made of wood or drywall over wood studs, the best method is to find the studs and attach the shelves directly to them. Use a stud finder to locate the studs behind the wall. Then, use a level to mark the location of the studs on the wall where the shelves will be mounted. Use screws that are long enough to go through the shelf bracket and into the stud behind the wall. This will provide the most secure and stable mounting for the shelves.
Using Wall Anchors for Drywall
If the wall is made of drywall without wood studs, or if the shelves are too heavy to be mounted directly to the studs, wall anchors can be used to provide additional support. There are several types of wall anchors available, including toggle bolts, plastic anchors, and metal anchors. Choose the appropriate type of anchor based on the weight of the shelves and the type of wall. Follow the manufacturer’s instructions for installing the anchors, and use screws that are appropriate for the type of anchor being used.
Hanging the Shelves
Once the brackets are attached to the wall, the shelves can be hung on the brackets. Place the shelves on the brackets and adjust them until they are level. Use a level to ensure that the shelves are straight. Once the shelves are in place, they can be secured to the brackets with screws or adhesive. Be sure to follow the manufacturer’s instructions for securing the shelves to the brackets. With proper mounting, the hexagon shelves will provide a stylish and functional storage solution for any room.
Decorating and Styling Your Shelves

After building your DIY wooden hexagon shelves, it’s time to start decorating and styling them. Here are some tips to make your shelves look stylish and functional.
1. Mix and Match Items
Mix and match items of different sizes and shapes to create a visually appealing display. For example, you can place a small plant next to a stack of books or a vase next to a framed photo. This will add depth and dimension to your shelves.
2. Use Colorful Items
Add some pops of color to your shelves by using colorful items such as books, vases, and decorative objects. This will make your shelves look more interesting and lively.
3. Create a Theme
Create a theme for your shelves by using items that have a similar color scheme or style. For example, you can create a beach-themed display by using items such as seashells, a beach-themed book, and a blue vase.
4. Use Different Textures
Use items with different textures to add some visual interest to your shelves. For example, you can place a woven basket next to a smooth vase or a wooden box next to a glass jar.
5. Keep it Simple
Remember to keep it simple and not overcrowd your shelves. Leave some empty space to create a clean and organized look. This will also make it easier to find and access items on your shelves.
By following these tips, you can create a stylish and functional display on your DIY wooden hexagon shelves.
Maintenance and Care

Once the DIY wooden hexagon shelves are built and installed, it is important to take good care of them to ensure they last a long time. Here are some tips to maintain and care for the shelves:
Cleaning
To keep the shelves looking their best, regular cleaning is recommended. Use a soft cloth or duster to remove any dust or debris that may have accumulated on the surface of the shelves. For tougher stains, a damp cloth or sponge can be used. Avoid using harsh chemicals or abrasive materials as they can damage the finish of the wood.
you may also check about How to Sew a Market Tote: Free Pattern Included
Avoid Water Damage
Wooden hexagon shelves should be kept away from areas with high humidity or moisture. Water can cause the wood to warp or crack, which can weaken the integrity of the shelves. If the shelves are installed in a bathroom or kitchen, make sure to wipe them dry after use.
Prevent Sun Damage
Direct sunlight can cause the wood to fade and lose its natural color. To prevent sun damage, avoid placing the shelves in areas where they will be exposed to direct sunlight for extended periods of time. If the shelves are already installed in a sunny area, consider adding window treatments or shades to protect them from the sun’s harmful rays.
Regular Inspections
It is important to inspect the shelves regularly for any signs of wear and tear. Check for cracks, warping, or loose screws. If any issues are found, address them immediately to prevent further damage.
By following these simple maintenance and care tips, DIY wooden hexagon shelves can remain in great condition for years to come.