Reverse tie-dye is a popular technique that involves removing color from a dyed piece of fabric to create a unique design. This process is achieved by using bleach or other color-removing agents to create a pattern on the fabric. This technique is an excellent way to give new life to old clothes or create a custom design on a new piece of clothing.
In this article, we will discuss how to reverse tie-dye a colored shirt in less than 30 minutes. The best part of this method is that you can skip the dozens of messy dye bottles and reverse tie-dye a whole set of shirts with one bottle of bleach mixture. To make the liquid, fill a plastic spray bottle with half water and half bleach. You won’t need much; for one or two shirts, start with a cup of water and a cup of bleach. This article will provide step-by-step instructions on how to create unique and stylish reverse tie-dye designs on any colored shirt.
Understanding Reverse Tie-Dye
Reverse tie-dye, also known as bleach tie-dye, is a process of removing dye from a colored garment to create a unique and interesting pattern. Unlike traditional tie-dye, where colors are added to a white fabric, reverse tie-dye involves removing the color from a dark-colored piece of clothing using bleach. The result is a lighter shade of the original color, creating a unique and personalized look.
The process of reverse tie-dye involves folding, twisting, and tying the garment in various patterns, similar to traditional tie-dye. However, instead of adding dye to the fabric, the garment is submerged in a mixture of bleach and water. The bleach removes the color from the fabric, leaving behind a lighter shade of the original color. Once the desired pattern is achieved, the garment is rinsed thoroughly to remove any excess bleach and then washed with a mild detergent to neutralize the bleach.
Reverse tie-dye can be done on a variety of fabrics, including cotton, rayon, and polyester. However, it works best on natural fibers such as cotton, as the bleach can weaken synthetic fibers. It is also important to note that the amount of bleach used and the duration of the bleach bath will determine the intensity of the final pattern. Therefore, it is recommended to start with a small amount of bleach and gradually increase the amount until the desired effect is achieved.
Overall, reverse tie-dye is a fun and easy way to transform a plain colored garment into a unique and personalized piece of clothing. With a little creativity and experimentation, anyone can create a one-of-a-kind pattern that reflects their personal style.
Materials Needed

To reverse tie-dye a colored shirt, you will need a few materials. These materials are easy to find and are usually available in your home or local store.
Bleach
The most important material needed for reverse tie-dye is bleach. Bleach is used to remove the color from the shirt, creating a unique pattern. You can use any type of bleach, but liquid bleach is the most common. You will need approximately a cup of bleach for one shirt.
Water
Water is also needed to dilute the bleach. You will need half water and half bleach to create the bleach mixture. For one or two shirts, start with a cup of water and a cup of bleach.
Spray Bottle
You will need a plastic spray bottle to apply the bleach mixture to the shirt. Fill the spray bottle with the bleach and water mixture.
Rubber Bands or Zip Ties
To create the tie-dye pattern, you will need rubber bands or zip ties. You can fold, scrunch, and twist the shirt and wrap it with rubber bands or zip ties to create the pattern.
Gloves
It is important to protect your hands from the bleach. Wear gloves to prevent any skin irritation or damage.
With these materials, you can easily reverse tie-dye a colored shirt in less than 30 minutes.
Preparation of Work Area

Before starting the reverse tie-dye process, it is essential to prepare the work area. This will ensure that the process goes smoothly and that the work area remains clean and organized throughout the process.
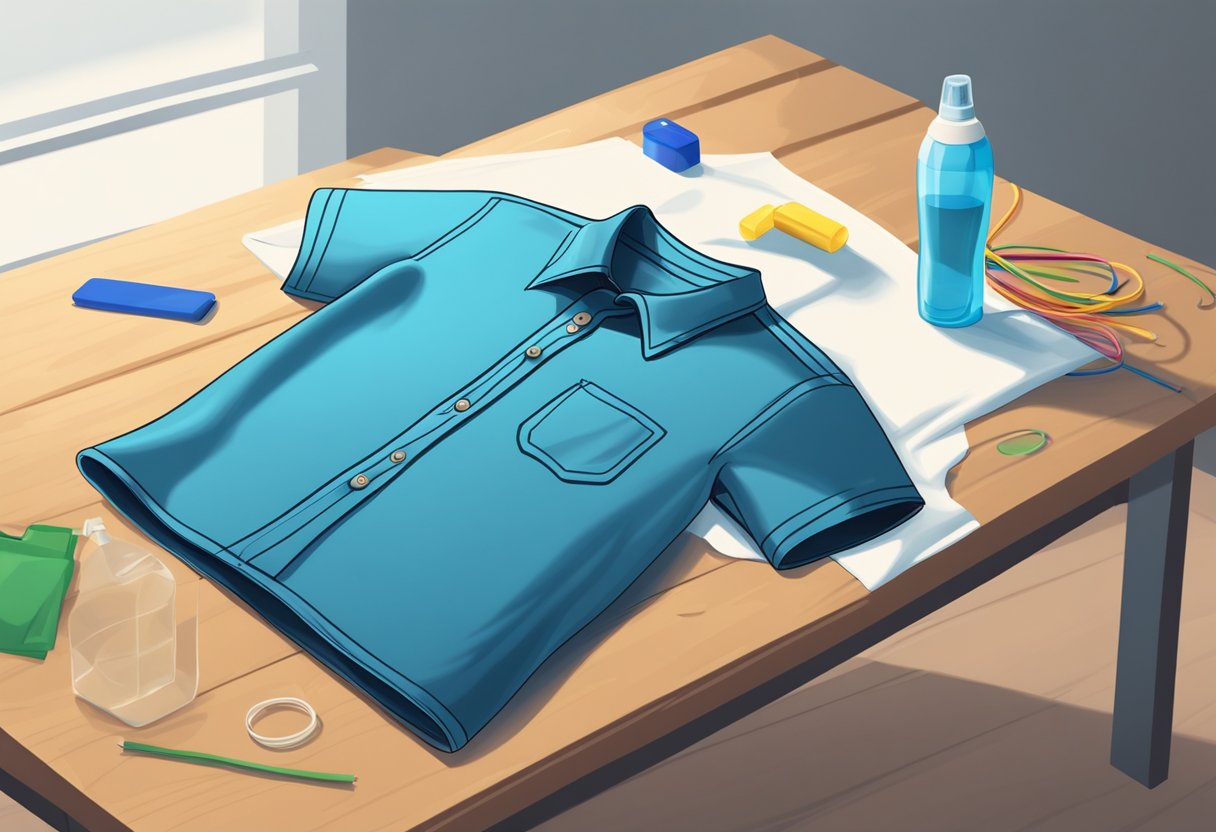
The first step in preparing the work area is to gather all the necessary materials. These include a 100% cotton shirt in a dark color, a plastic spray bottle, bleach, water, rubber gloves, and a work surface that can handle bleach spills. It is recommended to use a well-ventilated area as bleach can cause fumes.
Once all the materials are gathered, the work surface should be covered with a plastic sheet or newspaper to protect it from bleach spills. The shirt should be laid flat on the covered work surface, and the work area should be well-lit to ensure that the process is done correctly.
It is important to wear rubber gloves during the process to protect the hands from the bleach. The gloves should be worn throughout the entire process, including the preparation of the bleach mixture and the application of the mixture to the shirt.
By following these simple steps, the work area can be prepared for the reverse tie-dye process, ensuring that the process goes smoothly and that the work area remains clean and organized throughout the process.
Selecting Your Shirt

When selecting a shirt for reverse tie-dye, it’s important to consider the color and material of the fabric. The best results are achieved with 100% cotton shirts, as they absorb the bleach mixture well and create a vibrant contrast between the original color and the bleached areas. Polyester and other synthetic materials may not work as well and can result in a less defined pattern.
In terms of color, darker colors such as black, navy, or dark green tend to work best for reverse tie-dye. The bleach mixture will remove the color from the fabric, revealing the original lighter color underneath. It’s important to note that the original color and the bleach mixture will interact to create a new color, so it’s best to choose a shirt with a color that complements the desired end result.
When selecting a shirt, it’s also important to consider the size and fit. The shirt should fit well and not be too loose or too tight, as this can affect the placement of the tie-dye pattern. It’s also important to note that the pattern will be more defined on larger areas of fabric, so a larger shirt may result in a more striking pattern.
Overall, when selecting a shirt for reverse tie-dye, it’s important to choose a 100% cotton shirt in a dark color that complements the desired end result. The shirt should also fit well and not be too loose or too tight. By considering these factors, you can ensure the best possible results for your reverse tie-dye project.
Protective Measures

When reverse tie-dyeing a colored shirt, it is important to take certain protective measures to avoid any potential harm or damage. Here are some steps to follow:
Wear Protective Gear
Before beginning the reverse tie-dye process, it is recommended to wear protective gear such as gloves and a mask. Gloves will protect your hands from any bleach or dye, while a mask will prevent you from inhaling any harmful fumes.
Work in a Well-Ventilated Area
Reverse tie-dyeing can produce strong fumes that may be harmful if inhaled. It is important to work in a well-ventilated area to avoid breathing in any harmful chemicals. If possible, work outside or in a room with open windows and doors.
Protect Your Work Surface
Bleach and dye can cause damage to surfaces such as countertops and floors. It is recommended to cover your work surface with a plastic sheet or newspaper to protect it from any spills or stains.
Follow Instructions Carefully
When using any chemicals such as bleach or dye, it is important to follow the instructions carefully. Always use the recommended amount and dilution, and never mix chemicals together as it can produce harmful reactions.
By following these protective measures, you can safely and effectively reverse tie-dye a colored shirt in less than 30 minutes.