Upholstering a headboard and frame can be a fun and rewarding DIY project that gives your bedroom a fresh new look. Whether you want to update an old headboard or create a custom one to match your decor, the process can seem daunting if you’ve never done it before. However, with the right tools and materials, anyone can learn how to upholster a headboard and frame.
The first step in upholstering a headboard and frame is to gather your supplies. You’ll need a headboard and frame, foam padding, batting, fabric, scissors, a staple gun, and staples. The amount of fabric you’ll need will depend on the size of your headboard and frame, but a good rule of thumb is to get at least two to three yards of fabric. Once you have everything you need, you can begin the process of upholstering your headboard and frame.
Materials and Tools Required
Upholstering a headboard and frame is a simple DIY project that requires only a few materials and tools. Here are the essential items you will need to get started:
Materials
- Fabric: Depending on the size of your headboard and frame, you will need 2 to 3 yards of fabric. Choose a fabric that complements your bedroom decor and is durable enough to withstand daily wear and tear.
- Batting: Batting is a thin layer of cushioning that goes between the fabric and the headboard or frame. It adds extra padding and helps create a smooth, professional-looking finish.
- Foam: If you want a more cushioned headboard, you can use foam in addition to batting. Foam comes in different thicknesses and densities, so choose one that suits your comfort level.
- Staples: You will need a staple gun and staples to attach the fabric, batting, and foam to the headboard and frame. Use 3/8-inch staples for best results.
- Scissors: A pair of sharp scissors will be needed to cut the fabric, batting, and foam to size.
- Iron: An iron will be needed to remove any wrinkles or creases from the fabric before you begin upholstering.
Tools
- Measuring tape: Use a measuring tape to measure the dimensions of your headboard and frame so you can cut the fabric, batting, and foam to the correct size.
- Pliers: Pliers will come in handy when removing old staples or tacks from an existing headboard or frame.
- Screwdriver: If you need to disassemble your headboard and frame, a screwdriver will be necessary to remove any screws or bolts.
- Drop cloth: A drop cloth or old sheet will protect your work surface from any spills or stains during the upholstering process.
With these materials and tools, you’ll be ready to tackle your headboard and frame upholstering project with confidence.
Measuring and Cutting the Fabric

Before starting to cut the fabric, it is important to measure the headboard and frame accurately. This step is crucial to ensure that the fabric fits the headboard and frame perfectly.
To measure the headboard, use a tape measure to measure the width and height of the headboard. If the headboard has curves or angles, it is important to measure those areas as well. For the frame, measure the length and width of each piece.
Once the measurements are taken, it is time to cut the fabric. The amount of fabric required will vary depending on the size of the headboard and frame. Typically, 2 to 3 yards of fabric is required.
Using shears, cut the fabric to the appropriate size, leaving an allowance of approximately 5 inches to fold over all edges. If the fabric has a pattern that needs centering, take the time to position it correctly.
It is important to ensure that the fabric is cut straight and even to avoid any wrinkles or unevenness in the final product. After the fabric is cut, iron it for a crease-free finish.
Overall, measuring and cutting the fabric is a crucial step in upholstering a headboard and frame. Accurate measurements and straight cuts will ensure that the fabric fits the headboard and frame perfectly, resulting in a professional-looking finished product.
Preparing the Headboard and Frame
Before starting the upholstery process, it is essential to prepare the headboard and frame properly. This section will cover the necessary steps to prepare the headboard and frame for upholstery.
Step 1: Remove the Old Fabric
If there is any old fabric or padding on the headboard and frame, it needs to be removed. Use pliers or any other appropriate tool to remove any staples or tacks that are holding the old fabric in place.
Step 2: Clean the Headboard and Frame
Once the old fabric is removed, it is time to clean the headboard and frame thoroughly. Use a soft cloth or brush to remove any dust or debris from the surface. If there are any stains on the headboard and frame, use an appropriate cleaning solution to remove them.
Step 3: Sand the Headboard and Frame
If the headboard and frame have any rough spots or imperfections, use sandpaper to smooth them out. Sanding the surface will also help the new fabric adhere better.
Step 4: Apply Padding
Before attaching the new fabric, it is necessary to apply padding to the headboard and frame. This will provide a cushioned surface for the new fabric and make the headboard and frame more comfortable. Use foam or batting to apply padding to the headboard and frame.
Step 5: Cut the Fabric
Measure the headboard and frame and cut the fabric accordingly. Make sure to leave enough fabric to wrap around the edges of the headboard and frame.
By following these simple steps, the headboard and frame will be ready for the upholstery process.
Attaching the Fabric to the Headboard

After preparing the headboard and foam, it’s time to attach the upholstery fabric. This section covers the two essential steps of stapling the fabric and trimming excess fabric to finish the project.
Stapling the Fabric
To attach the fabric to the headboard, it’s necessary to staple it tightly. The fabric should be pulled taut to avoid any wrinkles or loose areas. The following steps can help to staple the fabric correctly:
- Lay the fabric over the foam and headboard, ensuring it’s straight and centered.
- Begin stapling the fabric to the headboard at the center of the top edge. Use a staple gun and place the staples about an inch apart.
- Move to the center of the bottom edge and staple in the same way.
- Move to the center of the left and right edges and staple the fabric in the same way.
- Continue stapling the fabric from the center outwards, ensuring it’s tight and smooth.
Trimming Excess Fabric
After stapling the fabric, there will be excess fabric around the edges of the headboard. The following steps can help to trim the excess fabric:
- Use scissors to trim the excess fabric, leaving about 1 inch of fabric beyond the staples.
- Fold the excess fabric over the back of the headboard and staple it in place.
- Continue trimming and folding the excess fabric around the headboard, ensuring it’s tight and even.
By following these steps, one can attach the fabric to the headboard and create a beautiful upholstered headboard that looks professional and polished.
Upholstering the Frame

Wrapping the Frame
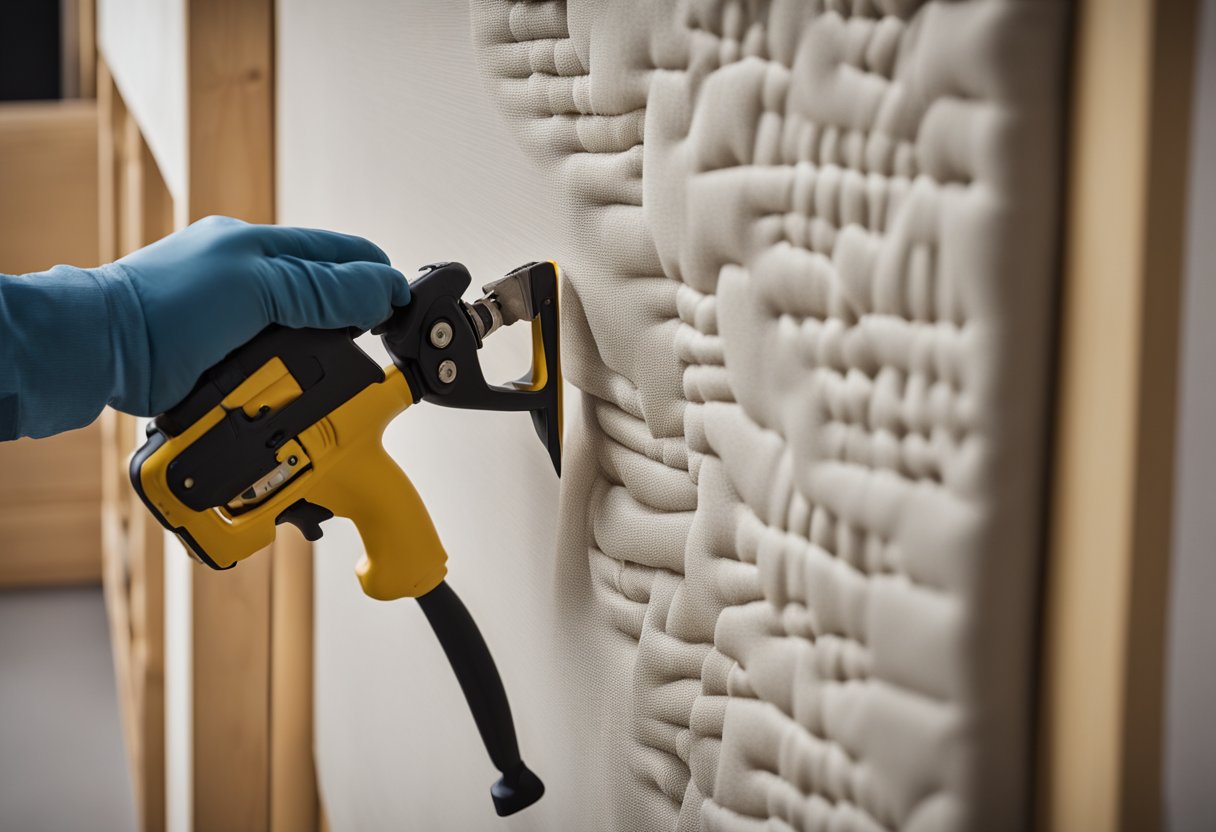
To begin upholstering the frame, the first step is to wrap the frame with batting. Cut the batting to size, leaving enough excess to wrap around the edges of the frame. The batting should be thick enough to provide cushioning but not too thick that it becomes difficult to work with. Place the batting on the frame and use a staple gun to secure it in place. Make sure to pull the batting taut and staple it securely to avoid any bunching or sagging.
Securing the Fabric on the Frame
Once the batting is in place, it’s time to add the fabric. Cut the fabric to size, leaving enough excess to wrap around the edges of the frame. If the fabric has a pattern, make sure to position it correctly before stapling. Place the fabric on top of the batting and frame, making sure it’s centered and straight. Use a staple gun to secure the fabric to the frame, starting in the middle and working your way out. Be sure to staple close to the edge and place staples 3-5 inches apart. Avoid placing fabric too close to screw holes or joints where the headboard pieces meet.
Overall, upholstering a headboard and frame can be a fun and rewarding DIY project. With a little patience and attention to detail, anyone can create a beautiful and comfortable headboard for their bedroom.
- Also, read about: How to Create Stylish Papier-Mâché Light Pendants With Cereal Boxes
Adding Finishing Touches

Installing Additional Padding
Before adding additional padding, make sure the headboard and frame are securely attached. To add padding, cut a piece of foam to size and attach it to the headboard using adhesive spray. Make sure the foam is evenly distributed and there are no bumps or lumps.
Once the foam is attached, add a layer of batting on top of it. This will help to smooth out any imperfections and create a soft, plush surface. Use a staple gun to attach the batting to the back of the headboard, pulling it taut as you go. Be sure to staple close to the edge and place staples 3-5 inches apart.
Applying Decorative Elements
Once the padding is in place, it’s time to add decorative elements to the headboard. This can include buttons, tufting, or nailhead trim.
To add buttons, use a long needle and thread to create a tufted effect. Start by threading the needle through the front of the headboard and pulling it through to the back. Place a button on the thread and push the needle back through to the front. Pull the thread taut to create a tufted effect and tie a knot in the back to secure it.
To add nailhead trim, use a hammer and nailhead trim strips. Place the strip along the edge of the headboard and use the hammer to tap the nails in place. Be sure to space the nails evenly and keep them straight for a professional look.
By following these simple steps, anyone can upholster a headboard and frame with ease. With a little time and effort, you can create a custom piece of furniture that is both stylish and functional.