Painting is a popular home improvement project that can completely transform the look and feel of a room. However, even the most experienced DIYers can make mistakes when painting. Common painting mistakes include drips, uneven coverage, and using the wrong type of paint. Luckily, many of these mistakes can be prevented or fixed with a few simple tips and techniques.
One of the most important things to do before starting a painting project is to properly prepare the surface. This includes cleaning the walls, repairing any holes or cracks, and sanding any rough spots. Failing to properly prepare the surface can lead to a variety of painting mistakes, such as uneven coverage and peeling paint. Additionally, it’s important to use the right tools and materials for the job, such as high-quality paint brushes and rollers.
Another common painting mistake is using the wrong type of paint. For example, using oil-based paint over latex paint without proper preparation can lead to peeling and cracking. It’s important to consult with a professional at a paint store to ensure that you are using the right type of paint for your project. Additionally, taking the time to properly apply the paint, such as using thin coats and allowing ample drying time, can help prevent common painting mistakes.
Understanding Paint Types

Paint comes in a variety of types, each with its own unique properties and characteristics. Understanding the differences between these types of paint is essential for achieving a successful painting project. In this section, we will discuss the two main types of paint: oil-based and water-based.
Oil-Based vs. Water-Based
Oil-based paint is made with a solvent, typically mineral spirits or turpentine, and dries to a hard, durable finish. It is ideal for use on surfaces that require a high gloss or enamel finish, such as trim, doors, and cabinets. However, oil-based paint has a strong odor and requires the use of solvents for cleanup, making it less environmentally friendly than water-based paint.
Water-based paint, also known as latex paint, is made with water as the solvent and dries to a flexible, durable finish. It is easy to clean up with soap and water, making it a more environmentally friendly option than oil-based paint. Water-based paint is ideal for use on walls and ceilings, as well as on surfaces that do not require a high gloss or enamel finish.
Choosing the Right Paint for the Surface
When choosing paint for a project, it is important to consider the surface being painted. For example, oil-based paint is ideal for use on wood, metal, and other surfaces that require a high gloss or enamel finish. Water-based paint is ideal for use on drywall, plaster, and other surfaces that do not require a high gloss or enamel finish.
In addition to considering the surface, it is important to choose the right type of paint for the job. For example, if you are painting a high-traffic area such as a hallway or entryway, you may want to choose a paint that is specifically designed for high-traffic areas. If you are painting a bathroom or kitchen, you may want to choose a paint that is specifically designed for use in wet areas.
Overall, understanding the differences between oil-based and water-based paint, as well as choosing the right paint for the surface and job, is essential for achieving a successful painting project.
Preparation Is Key
Preparation is the most important step in painting. Proper preparation ensures that the paint adheres well, lasts longer, and looks better. This section covers the key steps to prepare the surface before painting.
Surface Cleaning
Cleaning the surface is the first step in preparing the surface. Dirt, dust, grease, and other contaminants can prevent the paint from adhering well to the surface. So, it is important to clean the surface thoroughly before painting.
The cleaning method depends on the type of surface. For example, for walls, use a sponge or rag with a mild detergent solution to remove dirt and grime. For wood, sand the surface with sandpaper to remove any rough spots and then wipe it with a damp cloth. For metal, use a wire brush to remove rust and then wipe it with a cloth.
Priming the Surface
Priming the surface is the next step in preparing the surface. Priming helps the paint adhere better to the surface, covers stains, and seals porous surfaces.
Choose the right primer for the surface. For example, use a wood primer for wood surfaces and a metal primer for metal surfaces. Apply the primer evenly and let it dry completely before painting.
Taping and Covering
Taping and covering are important steps to protect surfaces that should not be painted. Use painter’s tape to cover edges, corners, and other areas that should not be painted. Cover floors, furniture, and other surfaces with drop cloths or plastic sheets to protect them from paint drips and spills.
In summary, preparation is key to a successful paint job. Surface cleaning, priming, and taping and covering are important steps to prepare the surface before painting. By following these steps, the paint will adhere well, last longer, and look better.
Also check: How to Paint Trim and Ceilings: A Step-by-Step Guide
Mastering Painting Techniques

Brushwork Skills
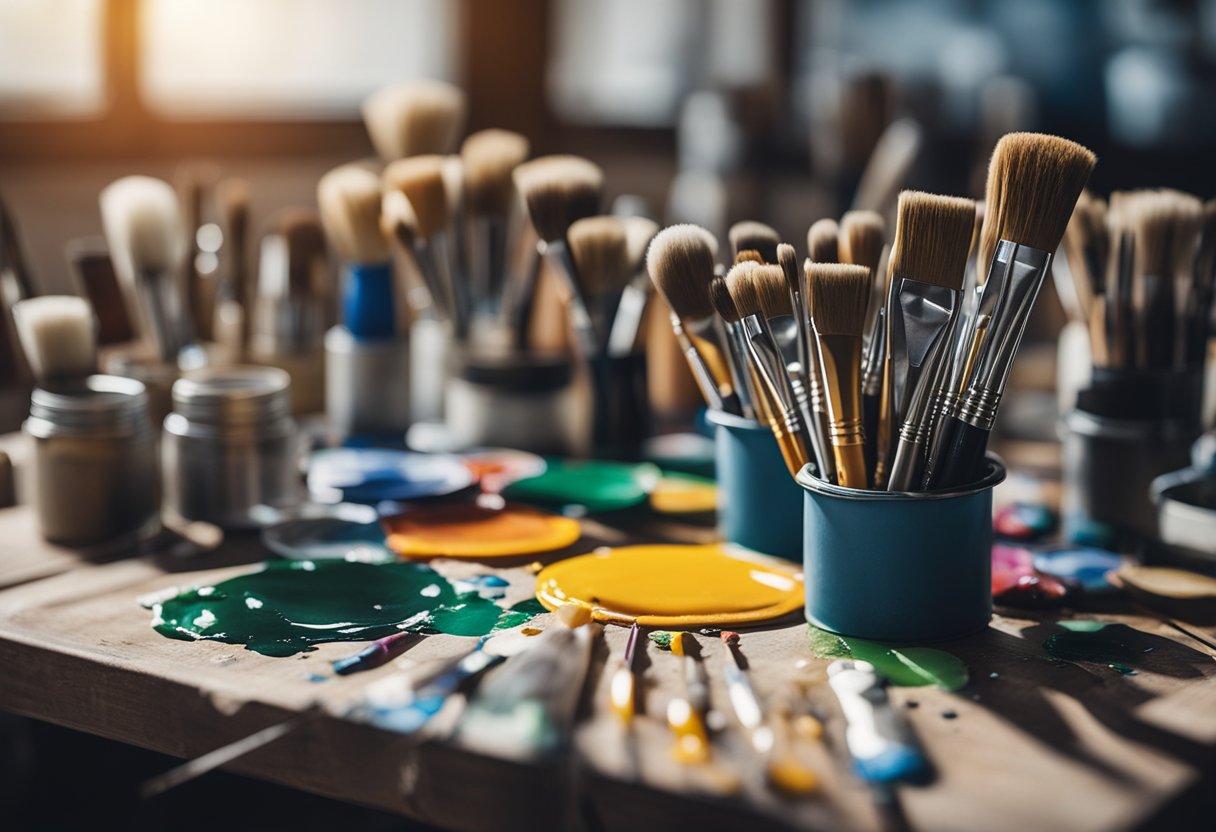
Brushwork skills are essential for painting. The right brush can help you achieve the desired texture and finish. A good quality brush can also help you to avoid brush marks and achieve a smooth finish. It is important to choose the right brush for the job. For example, a flat brush is ideal for painting large areas, while a round brush is perfect for detail work.
When using a brush, it is important to load the brush with paint correctly. Dip the brush into the paint and then tap off any excess paint on the side of the container. This will help you to avoid drips and sags. When applying the paint, use long, smooth strokes. Work from top to bottom and from left to right.
Roller Technique
Rollers are a great tool for painting large areas quickly and efficiently. When using a roller, it is important to choose the right roller for the job. A short pile roller is ideal for smooth surfaces, while a long pile roller is better for rough surfaces.
To use a roller, load the roller with paint by dipping it into the paint and then rolling it back and forth on the tray to evenly distribute the paint. When applying the paint, use a light touch and work in small sections. Roll the paint onto the surface in a W pattern, and then go over the area with long, smooth strokes to even out the paint.
Avoiding Drips and Sags
Drips and sags can ruin a paint job. To avoid drips and sags, it is important to use the right amount of paint. Do not overload the brush or roller with paint, as this can cause drips and sags. Instead, use a light touch and work in small sections.
When applying paint to a vertical surface, start at the top and work your way down. This will help to prevent drips and sags from forming. If you do notice a drip or sag, use a brush or roller to smooth it out immediately before it dries.
By mastering these painting techniques, you can achieve a professional-looking paint job with ease.
Paint Application Tips

Correct Thinning
Before starting to paint, it is important to ensure that the paint is properly thinned. If the paint is too thick, it will not spread evenly and will leave an uneven finish. On the other hand, if the paint is too thin, it will run and drip, making it difficult to control.
To determine the correct thinning, refer to the paint manufacturer’s instructions. Typically, water is used to thin water-based paints, while mineral spirits are used to thin oil-based paints. It is important to add the thinner gradually, stirring the paint thoroughly after each addition until the desired consistency is achieved.
Layering Paint
When applying paint, it is important to apply it in thin, even layers. This will help to avoid drips and runs, and will ensure a smooth, even finish. It is better to apply several thin layers of paint than one thick layer.
After the first layer of paint has dried, lightly sand the surface with a fine-grit sandpaper to remove any imperfections. Then, apply the second layer of paint in the same manner as the first. Repeat this process until the desired level of coverage is achieved.
Maintaining a Wet Edge
When painting a large surface, it is important to maintain a wet edge. This means that the painter should work quickly and continuously, applying paint to adjacent areas before the previously painted area has dried. This will help to avoid visible brush strokes and lap marks, which can occur when dry paint is overlapped with wet paint.
To maintain a wet edge, start at one end of the surface and work systematically towards the other end. Use long, smooth strokes and avoid going back over areas that have already been painted. If necessary, use a paint extender to slow down the drying time of the paint and allow more time to work.